
What is Grafting and Why Do We Do It?
If you plant an apple seed from a commercial grocery store fruit, the tree that grows will not produce that same apple. Apples are sort of like people: no child is an exact copy of their parent, but they will inherit many traits from both sides to create a genetically unique individual. Every single seedling will produce a brand-new type of apple.
To grow a specific variety of apple—like Honeycrisp, Fuji, or the Solstice variety we are working with today—you cannot rely on seeds. You must clonally propagate it.
Grafting is the ancient horticultural practice of taking a cutting from a known, high-quality tree (called the scion) and physically attaching it onto the root system of another tree (called the rootstock).
Rootstocks are most often selected varieties chosen for all sorts of characteristics like tree size, disease resistance, and soil tolerance. However, a rootstock can also be as simple as a seedling you planted, let grow for a year, and are now grafting over to your preferred fruiting variety.
How Plants Heal a Graft
When describing grafting to someone new, I like to compare it to how our own bodies heal a cut. Platelets in our blood clot the area, forming a scab to close the wound. Plants have a similar mechanism: they form callus tissue when their bark is damaged to heal the cambium layer. The cambium is the vital circulatory layer between the bark and the wood where water and nutrients flow up from the roots, and sugars flow down from the leaves.
Once the two pieces heal together, the rootstock provides physical support and nutrient uptake, while the scion grows to produce the exact, high-quality fruit you want. It is the ultimate shortcut to expanding your orchard with proven varieties—or adding multiple varieties to a single tree if your yard has limited space.
Why Use Masking Tape for Grafting?
Masking tape is accessible, cheap, and everywhere. You can use fancy specialty tapes if you want, but masking tape just works.
It provides a rigid, high-tension hold, but it will also degrade naturally over the season, releasing tension on its own as the graft heals and swells. Because it has a reasonably strong adhesive, it creates a highly secure, weather-tight seal using an inexpensive, everyday household item you likely already have in your workshop.
There is no need to babysit your graft or worry about cutting off rubber bands or constricting plastics later on.
Tools & Materials Checklist
Before you begin, gather these essential tools and materials at your grafting station:
Potted Rootstock: Ideally grown out in a pot (or in the ground) for a year to ensure a stable, well-established root system.
Scion Wood: High-quality, dormant cuttings of your desired apple variety (we are using Solstice).
Grafting Knife: A razor-sharp knife (preferably a single-bevel knife) for clean, precise cuts.
Masking Tape: Standard, everyday paper masking tape. It provides structural strength, weatherproofing, and splits naturally as the tree grows.
Pruning Shears: For heading back the rootstock and trimming scion wood to size.
Label Tags & Marker: To clearly identify your new tree variety immediately after grafting.
Small Mallet or Hammer (Optional): To safely tap your knife and split the rootstock.
Step-by-Step Grafting Guide
Step 1: Clean & Sanitize Your Tools!
Cleaning and sanitizing is an important first step to ensure that you are not spreading disease or introducing fungal pathogens. Remember, you are creating a fresh wound and performing surgery on your trees, so make sure to use clean tools before making a single cut. A quick wipe down with isopropyl alcohol or a mild bleach solution on your knife and shears does the trick.
Step 2: Prep Your Rootstock
One of the best advantages of working with a rootstock that has been growing in a pot or in the ground is stability. Because it is already firmly anchored, you don't have to worry about your hands slipping or struggling to hold the wood steady while making your cuts.
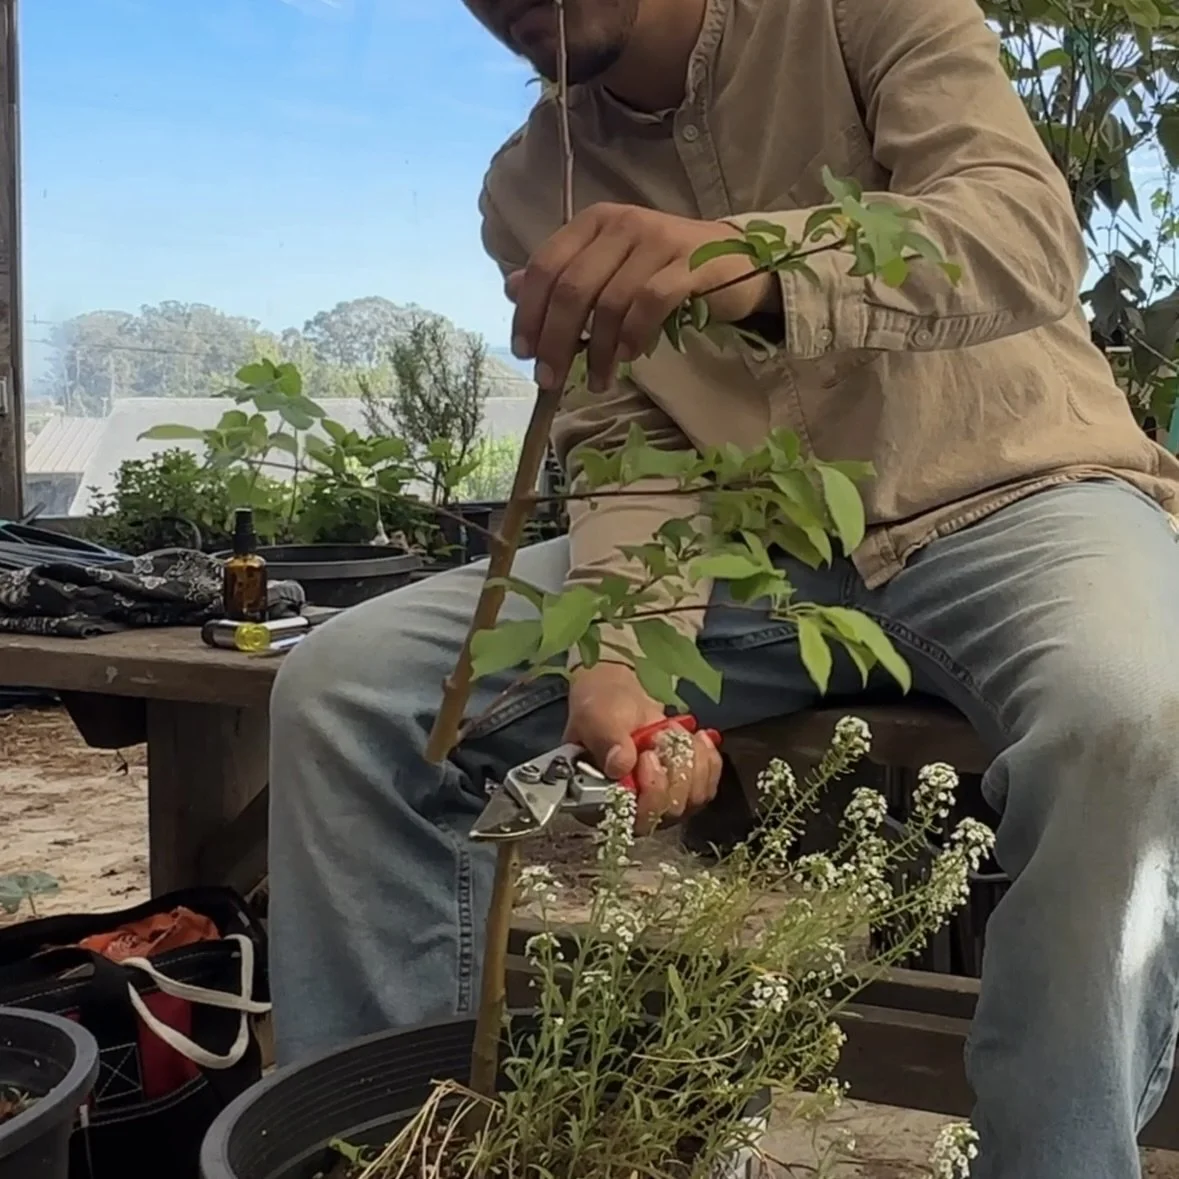
Find a smooth, clean section of the rootstock just 8”–12” above the soil level and make a clean horizontal cut using your pruning shears. To split the rootstock for a classic cleft graft, position your grafting knife perfectly in the center and give it a few gentle taps with your mallet to drive the blade to the desired depth before pulling it out.
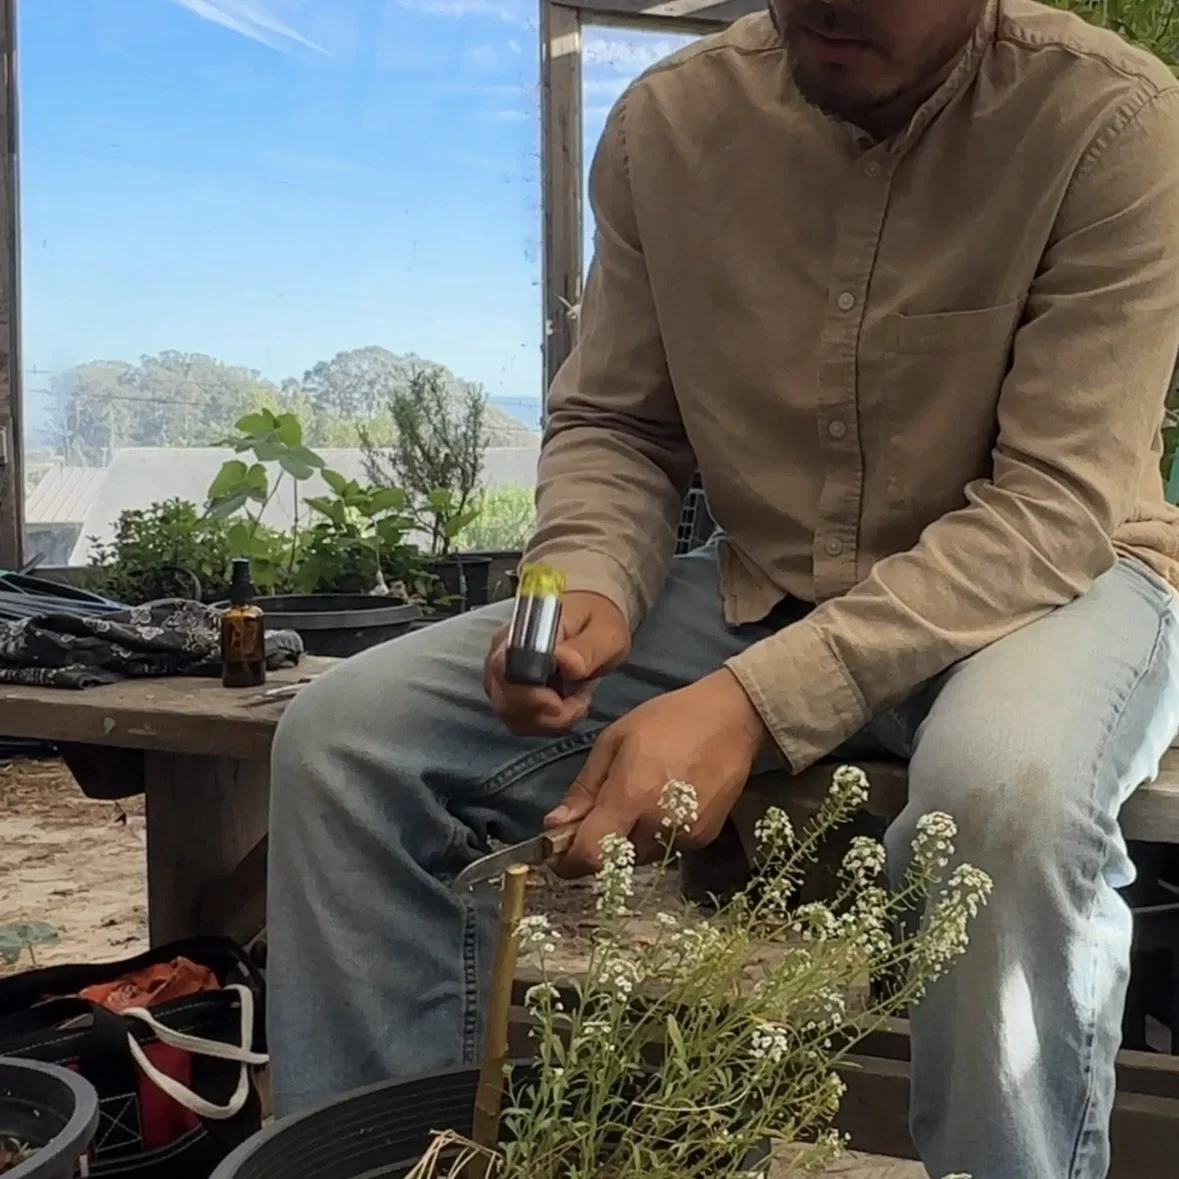
Step 3: Shape the Scion Wood
For this project, we are working with Solstice, but you can use any variety you like. Since we are performing a cleft graft, we need to cut the scion into a wedge shape.
Hold the piece of scion wood in your non-dominant hand, making sure the buds are facing toward the hand holding the wood. With your knife in your dominant hand, carefully shave down both sides of the base into a smooth, clean wedge.
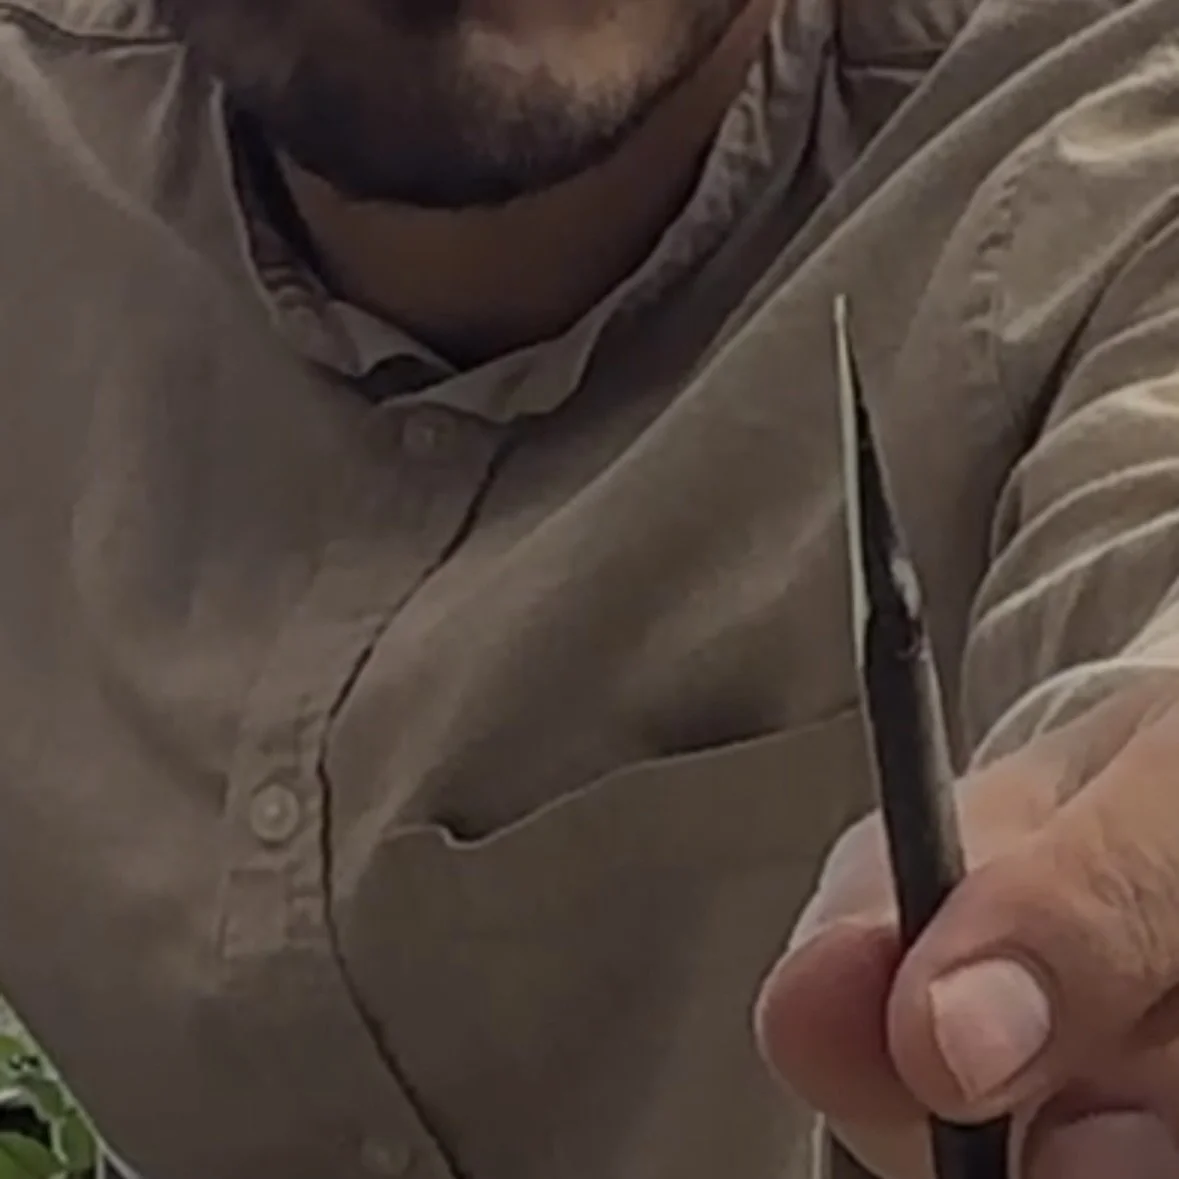
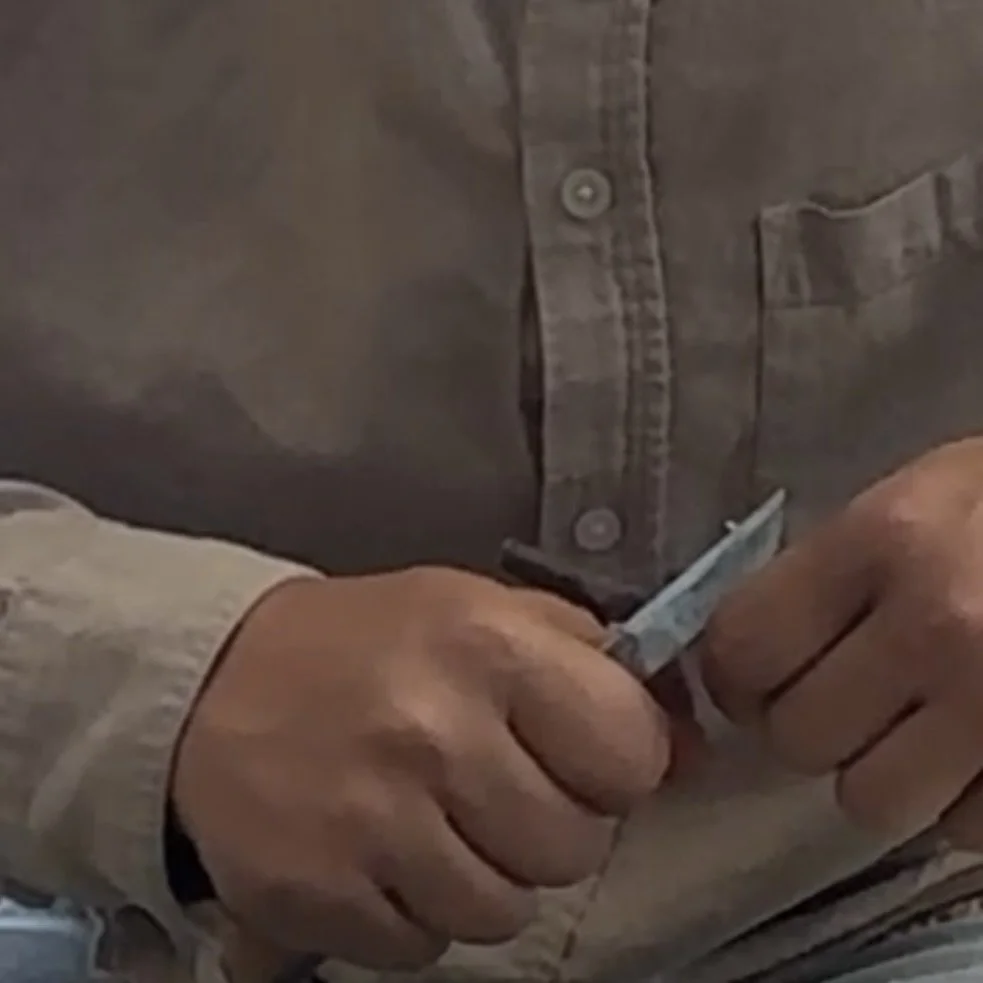
Pro-Tip: Hold the knife and scion close to your body and stick your elbows out. This positioning allows you to leverage your core and body weight to easily perform the cuts in a single, straight, and controlled motion.
Note: Sometimes the very tip of the wedge can end up very thin or flimsy. You can remove that tiny tip piece before setting the graft, but it doesn't make a massive difference. The important part is ensuring the shaved sides are completely flat and uniform.
Step 4: The Split-Prevention Tape Trick
The second most important part of grafting—right alongside cambium contact—is establishing high-pressure tension between the wood layers.
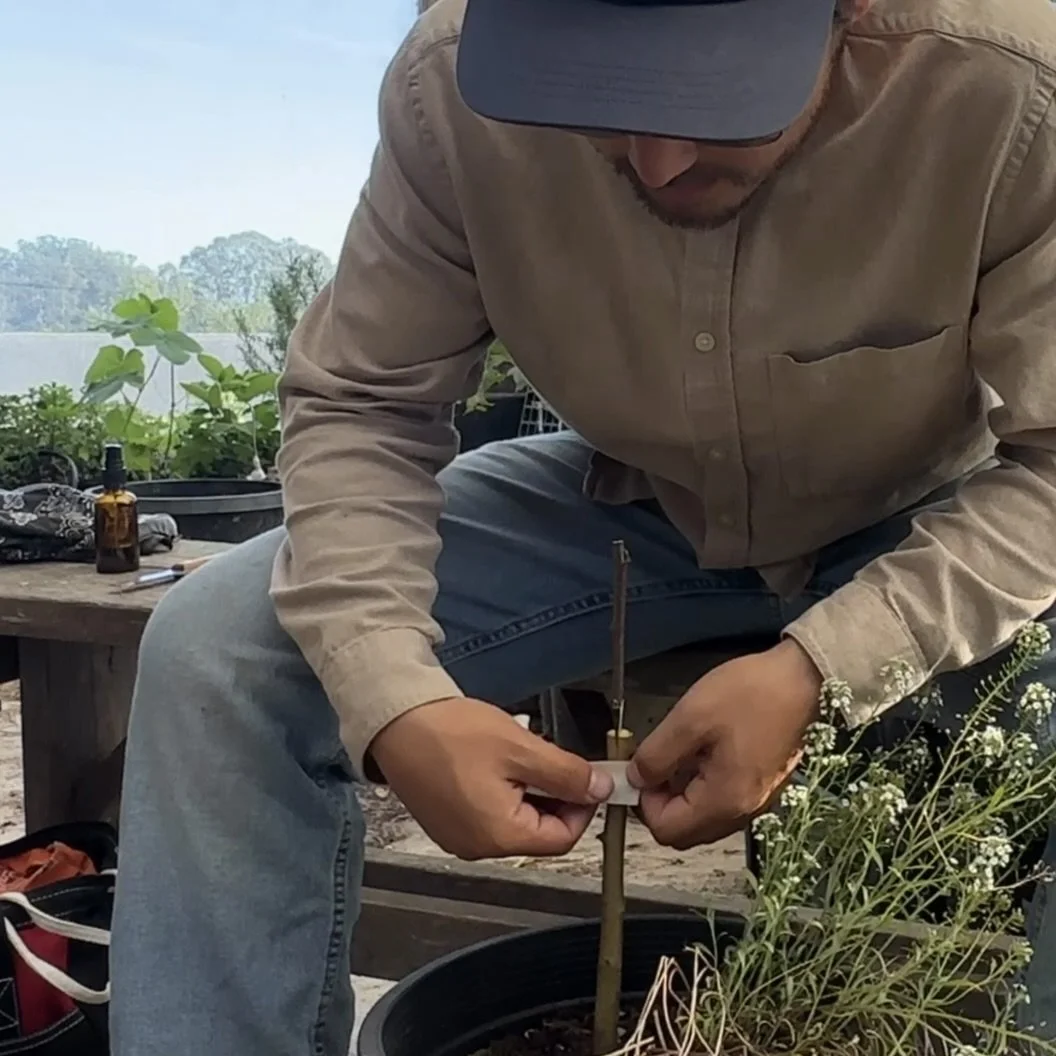
To achieve this, I use a trick I learned from Freddy Menge, who is the masking tape grafting guru. Start by sliding your wedged scion just a quarter of the way into the rootstock split—just enough to pry it open slightly.
Next, take a small piece of masking tape and wrap it firmly right at the base of the split on the rootstock. Once that base is securely taped, push your scion wood the rest of the way down into the seat.
This tape collar prevents the split from traveling any further down the rootstock, building an incredible amount of tight, spring-loaded tension into the graft union.
Step 5: Align the Cambium Layers
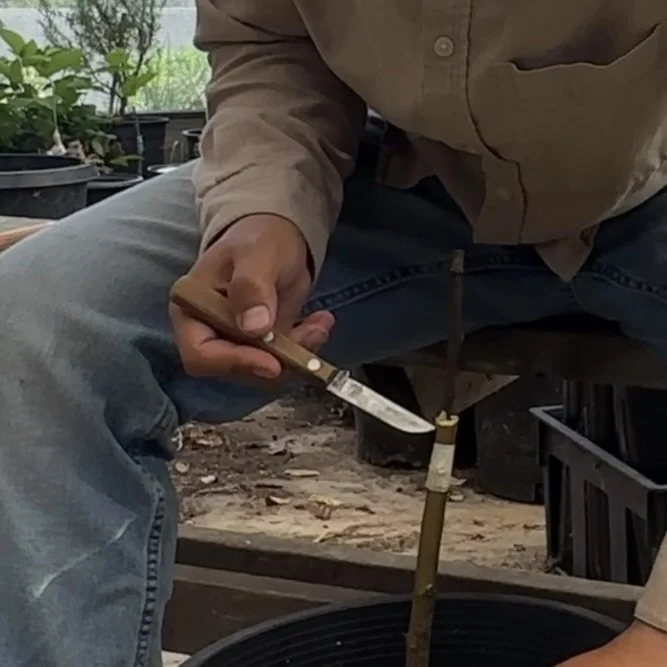
As you push your scion wood into the rootstock split, you should actually hear and feel that built-up tension holding it tight.
Make sure to drive your scion wood in at a very slight angle, and ensure the cut face on the scion sticks up just slightly above the top of the rootstock cut. Angling it guarantees that the cambium tissue—the vital circulatory layer identifiable as the bright green line right between the bark and the wood—crosses paths in at least one point. This intersection is exactly where the callus tissue will lock together, allowing sap to flow and the union to heal beautifully.
Step 6: Wrap Like Shingles on a Roof
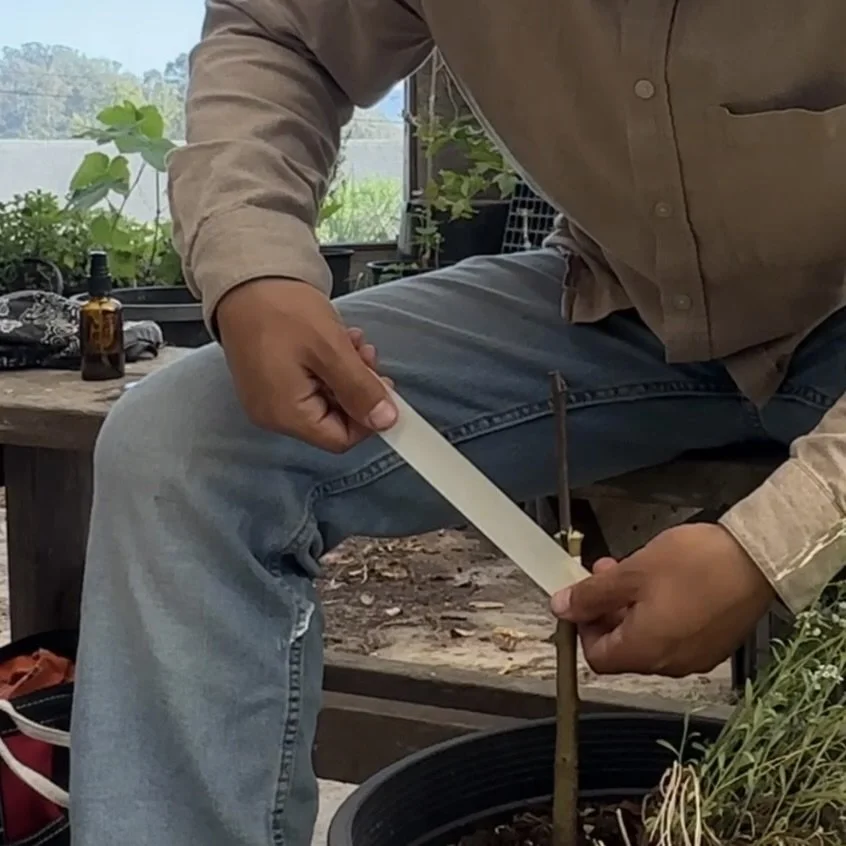
Now it's time to seal the wound. Grab your masking tape and start wrapping upward at an angle.
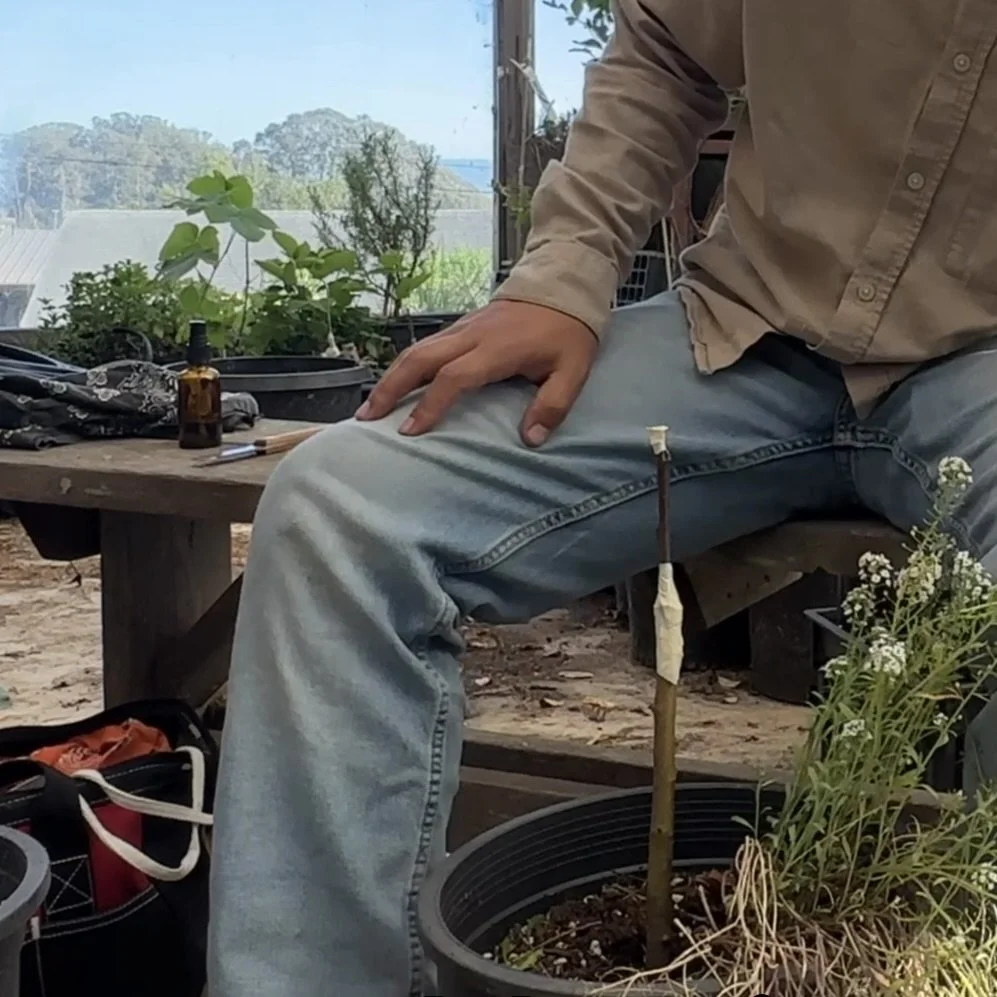
By wrapping upward diagonally, the tape overlaps itself sequentially. This mimics the layout of shingles on a roof, allowing outdoor rainwater or morning dew to shed right off the union instead of seeping down into the open cut.
Wrap firmly to add structural tension, lock in crucial moisture, and create a protected environment for healing. Use an extra small piece of tape to seal up the exposed top of the scion cut, giving it a quick pinch to close any gaps. Finally, don’t forget to tag your tree with the variety name immediately so you don't forget what you grew!
The Results: 2 Months Later
Masking tape isn't just convenient—it works. Checking back in after just two months, the Solstice graft has completely healed over into a clean, seamless, and incredibly strong union. Even better, the tree has already pushed out roughly a foot and a half of vibrant new growth.
Grafting doesn't require overly complicated gear or expensive specialty supplies to get professional results. Give this masking tape method a try in your own orchard!
Watch the full demonstration video here:How to Graft Apple trees with Masking Tape! 2 month Update!